REVIEW · KUTA
Bali Kuta Silver Jewelry Making Class & Take home your Creation
Book on Viator →Operated by Big Tree Jewelry Classes · Bookable on Viator
One of the coolest things you can do in Kuta is make jewelry yourself. This Bali Kuta silver class turns a small chunk of silver into a real piece you can wear right after polishing it, with a calm studio setting in Legian instead of a long day trip.
I especially like the hands-on pace and the fact that your piece starts with 1–6 grams of pure silver (plus an optional gold plating upgrade). You also get free Wi‑Fi in an air-conditioned studio, which makes the two hours feel comfortable rather than rushed.
One thing to plan for: hotel transfer isn’t included, so you’ll need to get yourself to the studio at Jl. Raya Legian No.75 in Kuta/Legian.
In This Review
- Key things to know before you go
- Inside the studio in Legian: where your Bali jewelry class starts
- What you actually make: 1 jewelry design from 1–6 grams of silver
- Optional gold plating: when you want a different finish
- The workshop flow: from design to shaping, stamping, and polishing
- The staff that make the difference: Surya and Memet at your bench
- Price and value: what $46.48 buys you in Kuta
- Who this class suits best (and who might want to skip it)
- Practical tips to get the best result
- Should you book the Bali Kuta silver jewelry making class?
- FAQ
- How long is the Bali Kuta silver jewelry making class?
- Where does the class meet in Kuta/Legian?
- What is included in the price?
- Is hotel transfer included?
- Can I upgrade with gold plating?
- Do I need prior jewelry-making experience?
- How many people are in the class?
- What ticket do I receive?
- What’s the cancellation policy?
Key things to know before you go
- Legian/Kuta location makes this an easy add-on without heading to the usual tourist workshops farther away
- You choose the look as you work, not just watch—your ring or jewelry starts from your own design
- Guidance from Surya and Memet is a big reason this class earns top marks for patience and step-by-step help
- Optional gold plating lets you finish with a more luxurious look
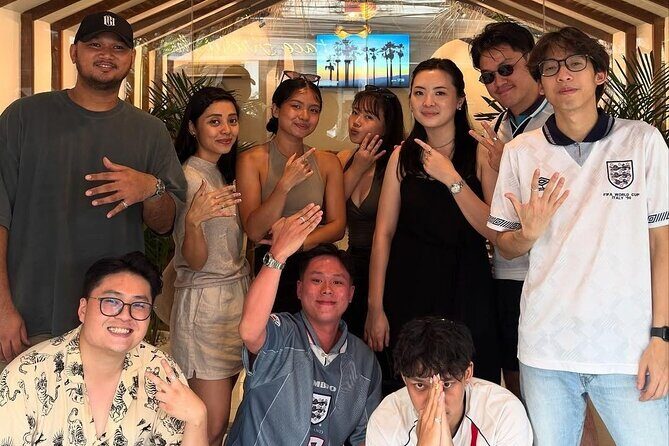
- Small group size (max 10) keeps attention focused on what you’re doing at your bench
- You take home what you make, since your session ends with your finished silver jewelry
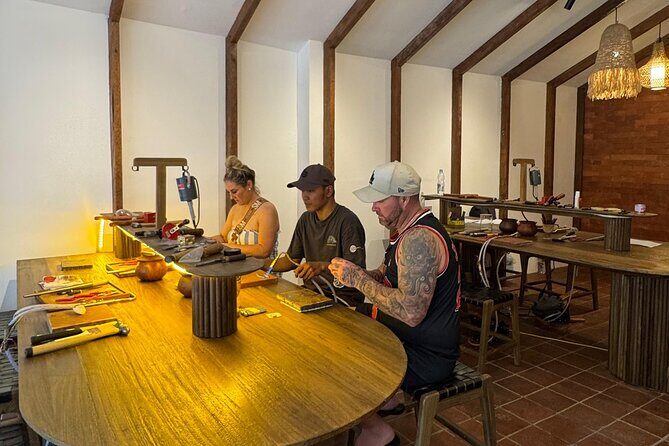
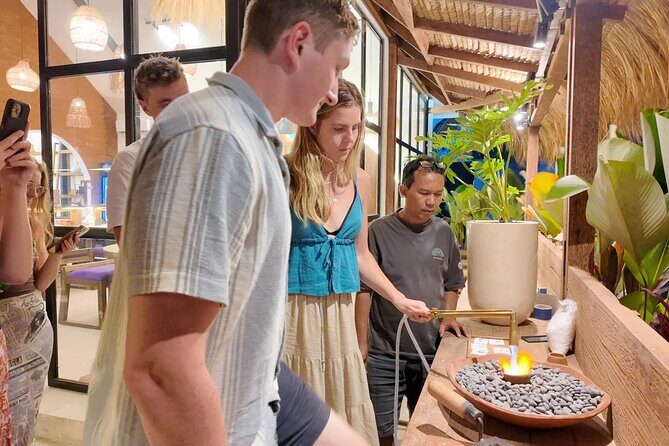
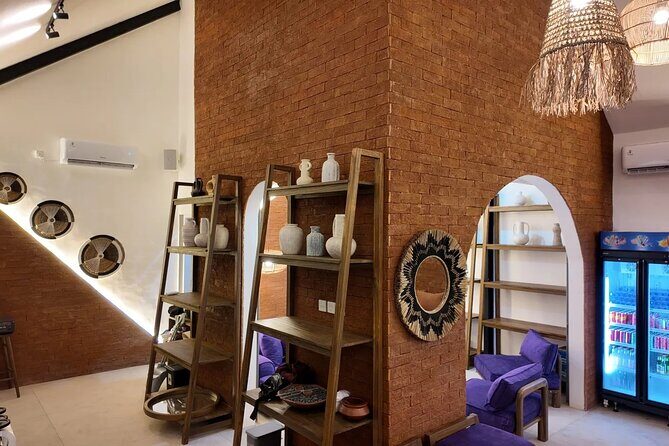
Inside the studio in Legian: where your Bali jewelry class starts
This workshop starts at The Legend Jewelry Classes – Kuta Silver Class, on Jl. Raya Legian No.75. The area is built for doing things close to where you’re staying in Kuta/Legian, which matters because this is a short, two-hour experience. You’re not signing up for an all-day event, so getting there easily makes a big difference.
When you arrive, you’ll check in at the studio and wait in a cozy, air-conditioned space. There’s free Wi‑Fi, so you can confirm details, send a message home, or just unwind before you begin. The studio also has an indoor and outdoor feel, with a design that’s meant for photos—useful if you want quick progress shots while you’re working.
Because your time is limited, I like that this is built around getting you into the main task fast. You’ll get the metal, the tools, and the instruction, then your session becomes mostly about your own hands, your own decisions, and your own finish.
If you're still narrowing it down, here are other tours in Kuta we've reviewed.


What you actually make: 1 jewelry design from 1–6 grams of silver
The heart of the class is simple: you’ll handcraft one jewelry design using 1–6 grams of pure silver. That means the workshop is set up like a true maker experience, not a souvenir demo where you don’t touch much.
This “1–6 grams” range is important for value and expectations. It tells you the class is designed to produce a wearable item without you needing to pay for large amounts of metal or materials beyond what’s included. In plain terms, it’s a nice middle ground: enough silver to feel real and substantial, but not so much that the class turns into a major investment.
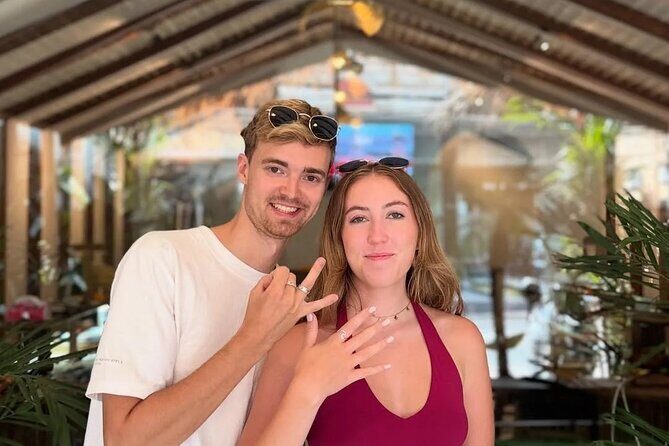
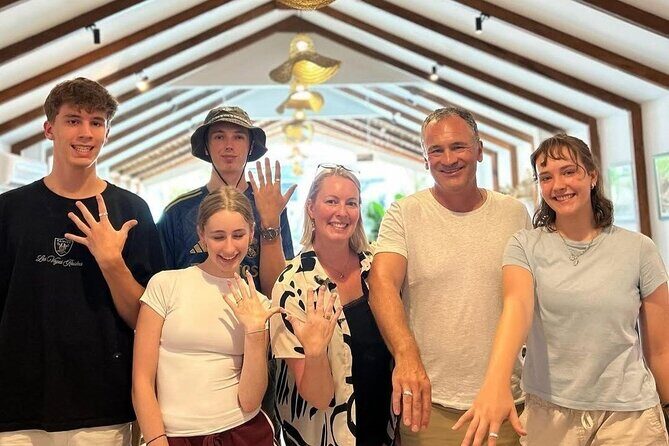
Many people end up creating rings, including couples who remake wedding bands and families who make something for themselves. Even if you don’t go in with a sketch, you’ll work through shaping, stamping, and finishing until your piece looks like your idea—then you take it home.
Optional gold plating: when you want a different finish
If you’re thinking of turning your silver piece into something that looks closer to gold, you can add optional gold plating. This is a smart choice if you want the warmth of a gold look while still keeping the experience focused on making your own jewelry.
The practical takeaway: your upgrade isn’t just for aesthetics. It’s also a way to personalize the final result so it matches how you plan to wear it—daily casual or dressed up.
The workshop flow: from design to shaping, stamping, and polishing
Your class runs about two hours, and the structure is designed to keep you moving. Expect your time to follow the silversmithing steps rather than random activities.
Here’s how the session typically feels from start to finish:
1) Design and planning with the silversmith
You’ll start with guidance on how to design and craft your piece. Even if you have no experience, the process is built to be teachable. You’re not expected to already know how to size a ring or pick tools.
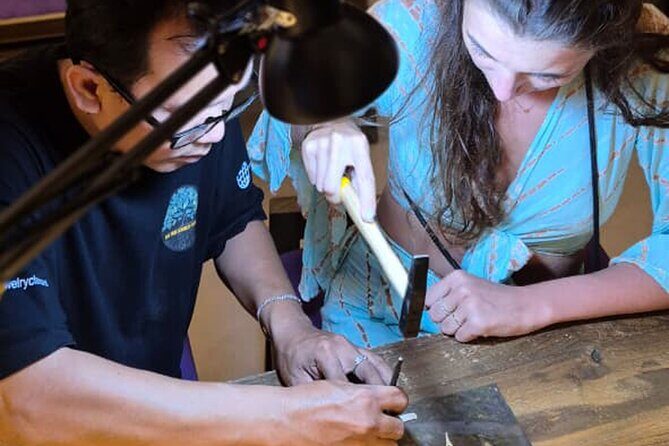
2) Shaping and stamping
Once the design is set, you move into real metalwork. Shaping is where you learn how your metal behaves under basic forming steps. Stamping is where your idea becomes visible—marks, textures, or a pattern that gives your piece personality.
3) Using professional jewelry tools
You’ll work with specialized jewelry tools like jeweler’s saws, hammers, and grinding wheels. This part matters because it’s where you stop feeling like you’re in a craft class and start feeling like a maker.
4) Polishing and finishing
By the end, polishing is what changes everything. It’s the difference between something that looks handmade and something that looks finished and wearable. The class is set up so you leave with your jewelry in a state you can actually use or gift.
The big advantage of this pacing: you learn the workflow rather than only one isolated step. You get a feel for how silver goes from rough plan to a clean final look.
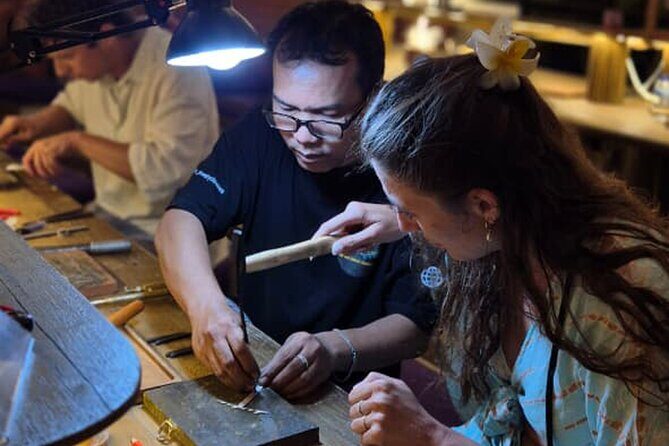
The staff that make the difference: Surya and Memet at your bench
A consistent theme from the people who love this class is the quality of instruction. The standout names are Surya and Memet, and their teaching style shows up in how the class runs.
They’re described as friendly, patient, and step-by-step, which is exactly what you want when you’re holding tools you’ve never used before. What I like about that kind of guidance is it reduces the two biggest risks in hands-on workshops: you don’t waste time, and you don’t leave frustrated when something doesn’t look right immediately.
This is also why the class works for different kinds of groups. If you’re alone, you still get enough attention to finish your design confidently. If you’re with friends or family, the pace stays friendly and supportive rather than chaotic.
And yes, this matters for the emotional side of the experience too. When someone helps you through the tricky moments, you walk out feeling proud, not just entertained.


Price and value: what $46.48 buys you in Kuta
At $46.48 per person, the biggest question is whether you’re paying for a real making experience or a marketing-friendly activity. Here’s the value logic from what’s included.
You get:
- 1–6 grams of pure silver for your jewelry design
- guidance from professional silversmiths
- specialized tools used in the process
- bottled water
- free Wi‑Fi
- an air-conditioned studio environment
Two hours of instruction plus the metal to take home is the core value. You’re not just paying for watching; you’re paying for learning how silversmithing works on a manageable project and then leaving with the result.
Is it the cheapest activity in Kuta? Probably not. But it’s often one of the better value trades if you want a gift or a souvenir that has actual meaning. A store-bought trinket can be pretty, but it won’t have the same story as a piece you shaped, stamped, and polished yourself.
Who this class suits best (and who might want to skip it)
This is a great fit if you want an activity with:
- a clear “finish line” at the end (you take something home)
- a relaxed studio setting rather than a busy day tour
- hands-on steps and real tools
- a short timeframe that won’t swallow your whole day
It also works well for couples. One of the most practical reasons: you can remake wedding bands together as a shared project, which turns a typical resize or replacement idea into something more personal and memorable.
It can also suit families, as long as everyone in the group is comfortable participating in a workshop environment.
Who might consider skipping it? If you’re only looking for passive sightseeing, this isn’t that kind of experience. You’ll be doing the work, which is the whole point. If you’re not into crafts or tool use, it could feel more like labor than fun.
Practical tips to get the best result
A few small choices can help your finished jewelry look like you expected:
- Go in with at least one idea for your design. Even a simple theme helps.
- Be ready to work slowly and carefully during shaping and stamping. Rushing usually leads to redo time.
- If you care about how it will look day-to-day, ask about the optional gold plating and how that changes the final vibe.
- Since hotel transfer isn’t included, plan your route so you aren’t late. This class is short, and punctuality helps you finish polishing with time to spare.
- Wear something comfortable. You’ll spend the session at a workstation, and you’ll likely want to focus on your hands, not your outfit.
Also, keep your expectations realistic in a good way: this is a learning workshop, not an exam. The goal is that your piece looks finished and meaningful when you leave.
Should you book the Bali Kuta silver jewelry making class?
I’d book it if you want a small-group hands-on workshop with a real take-home item, especially if you’ll be staying in Kuta or Legian and you don’t want extra travel time. The max 10 travelers setup helps keep instruction focused, and having staff like Surya and Memet makes it easier to feel confident using tools you’ve never touched before.
If you’re on a tight schedule, the two hours format is also ideal. You get a creative activity without turning your day into a long logistical puzzle.
Skip it only if you truly dislike making things or you’re expecting a pure sightseeing experience. This class is about doing, not watching.
If you want one souvenir that actually feels like a story, this is the kind of activity that delivers: you’ll end the session holding a piece of silver that you created yourself.
FAQ
How long is the Bali Kuta silver jewelry making class?
The experience lasts about 2 hours.
Where does the class meet in Kuta/Legian?
The meeting point is The Legend Jewelry Classes – Kuta Silver Class – Jewelry Making Workshop at Jl. Raya Legian No.75, Kuta, Kec. Kuta Sel., Kabupaten Badung, Bali 80361, Indonesia.
What is included in the price?
It includes bottled water, free Wi‑Fi access, an air-conditioned studio environment, 1–6 grams of pure silver for 1 jewelry design, guidance by professional silversmiths, and specialized tools for jewelry making.
Is hotel transfer included?
No. Hotel transfer is not included.
Can I upgrade with gold plating?
Yes. There is an optional gold plating service you can add for a more luxurious finish.
Do I need prior jewelry-making experience?
Most travelers can participate, so you don’t need prior experience.
How many people are in the class?
The workshop has a maximum of 10 travelers.
What ticket do I receive?
You’ll receive a mobile ticket.
What’s the cancellation policy?
Cancellation is free up to 24 hours in advance for a full refund. If you cancel less than 24 hours before the start time, the amount paid is not refunded.